 Tel:
Tel:  Email:
  WhatsApp:
 Description
📖 Product Deep Introduction
If you are trying to integrate legacy DF1 serial devices into a modern ControlLogix system, this Prosoft 5205-DFNT-PDPS is the exact “translator” you need. It installs directly into the Allen-Bradley chassis, connecting old serial equipment (DF1) on one end and throwing data into the main control system via Ethernet (DFNT/EtherNet/IP) on the other. Honestly, communication dropouts are the biggest headache in these old-to-new protocol projects, and Prosoft has a solid reputation for firmware stability in this area.To be frank, the biggest risk with these communication bridge modules is buying refurbished units that fail protocol handshakes. The 5205-DFNT-PDPS units we ship are all brand new originals (New Original), not pulled-from-service items. When you receive it, you will see intact anti-counterfeit labels, and the screw holes and slots will show no signs of tampering. For system integrators, using this eliminates the hassle of writing custom communication drivers; you can configure it directly in Studio 5000, turning complex serial communication into standard Ethernet communication and cutting debugging time significantly.
⚙️ Key Technical Specifications
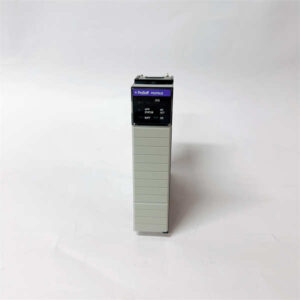
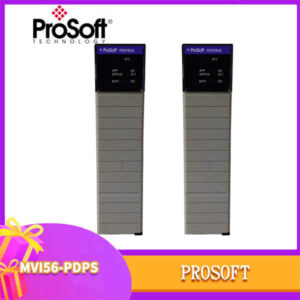
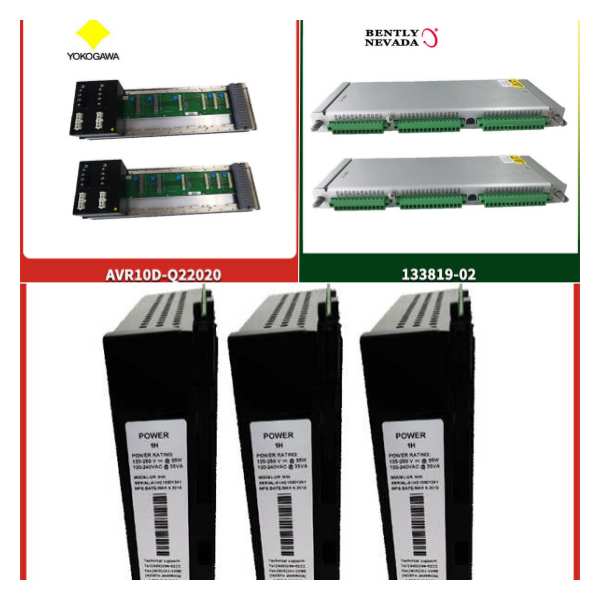
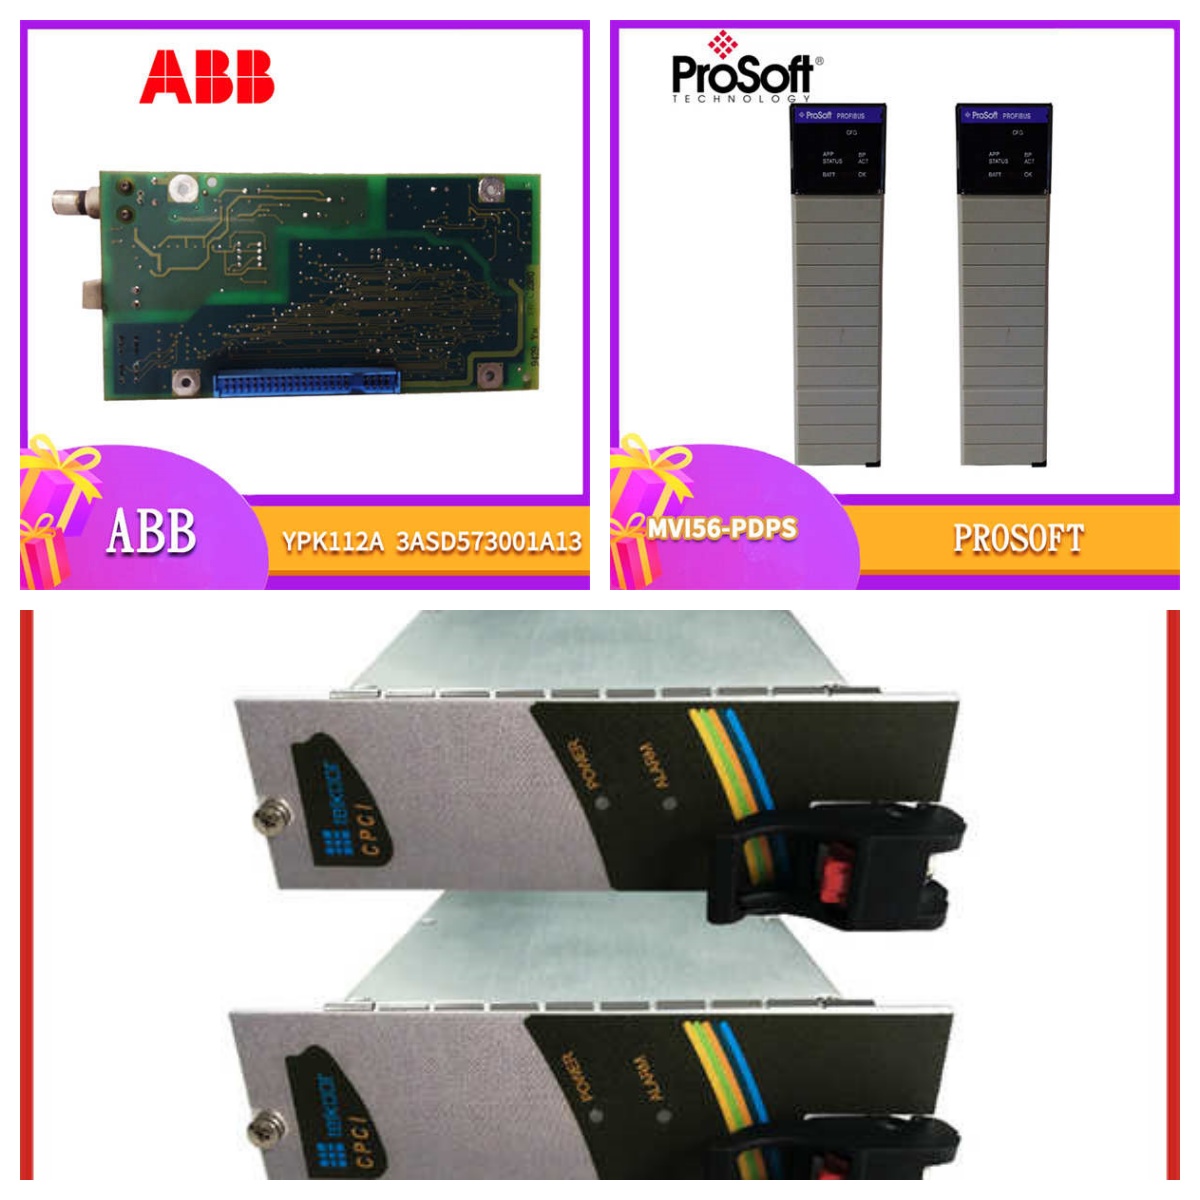
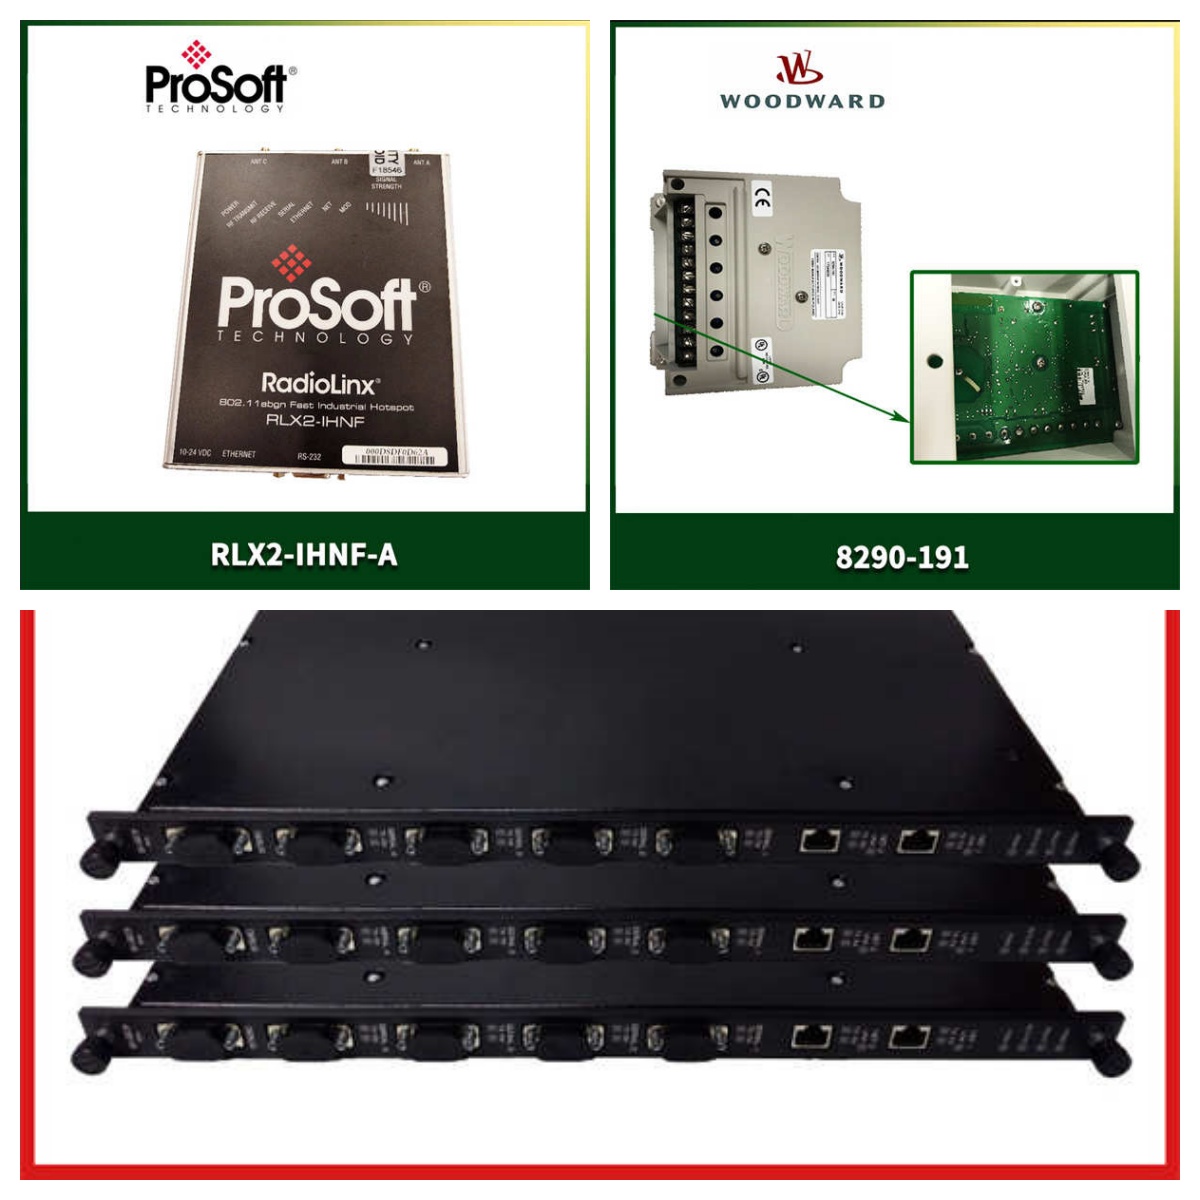
- Model: 5205-DFNT-PDPS
- Brand: Prosoft Technology
- Platform: Allen-Bradley ControlLogix 5500 Series Chassis
- Interface 1: DF1 (RS232/RS485 Serial)
- Interface 2: DFNT (EtherNet/IP Ethernet)
- Protocol Support: DF1 to EtherNet/IP translation
- Mounting: Rail mount (ControlLogix chassis slot)
- Power Supply: Powered by ControlLogix chassis backplane
- Operating Temperature: 0°C to 60°C
- Condition: New Original
🔧 Installation & Wiring Guide
Phase 1: Preparation (Est. 10 mins)
- Software Setup: Install Prosoft’s Configuration Builder software on your laptop.
- Hardware Check: Ensure there is an available slot in the ControlLogix chassis and verify backplane power is normal.
- Firmware Check: Download and verify the latest firmware version to ensure compatibility with your existing system.
Phase 2: Removing the Old Module (Est. 15 mins)
- Power Off: Always cut the main power to the ControlLogix chassis. Never hot-swap modules.
- Label Cables: If replacing an old module, take photos to document the exact wiring positions of serial and Ethernet cables.
- Remove Module: Loosen the retaining screws and smoothly pull the old module out of the chassis.
Phase 3: Installing the New Module (Est. 15 mins)
- ESD Protection: Touch a metal object to discharge static or wear an ESD wrist strap.
- Insert Module: Align the 5205-DFNT-PDPS with the slot, push it in evenly until you hear a “click” indicating it is locked.
- Restore Wiring: Based on your photos, reconnect the serial (DB9/DB25) and Ethernet cables, tightening all screws securely.
Phase 4: Power-Up Testing (Est. 30 mins)
- Power On: Energize the chassis and observe the module’s OK light and communication indicators for normal blinking.
- Software Config: Open Configuration Builder, scan for the module, and configure the serial parameters (baud rate, parity, etc.).
- Comm Test: In Studio 5000, force an output bit and observe if the field device acts accordingly to confirm bidirectional data communication.