 Tel:
Tel:  Email:
  WhatsApp:
 Description
Key Technical Specifications
| Parameter | Specification |
|---|---|
| Input Voltage | Wide Range (Supports standard industrial 24VDC/110-240VAC variants) |
| Signal Support | Digital & Analog I/O (Configurable) |
| Communication | Modbus, Profibus, Ethernet/IP (Protocol dependent on firmware) |
| Processor | High-performance 32-bit Embedded CPU |
| Operating Temp | -20°C to +60°C (Industrial Grade) |
| Humidity | 5% to 95% Non-condensing |
| Mounting | DIN Rail or Panel Mount (Modular Chassis) |
| Protection | IP20 (Panel Mounted), Short-circuit protection on I/O |
| Diagnostics | LED Status Indicators, Self-test routines |
| Dimensions | Standard Modular Form Factor (Varies by chassis) |
Product Introduction
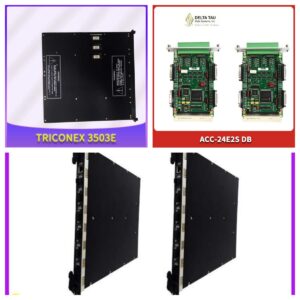
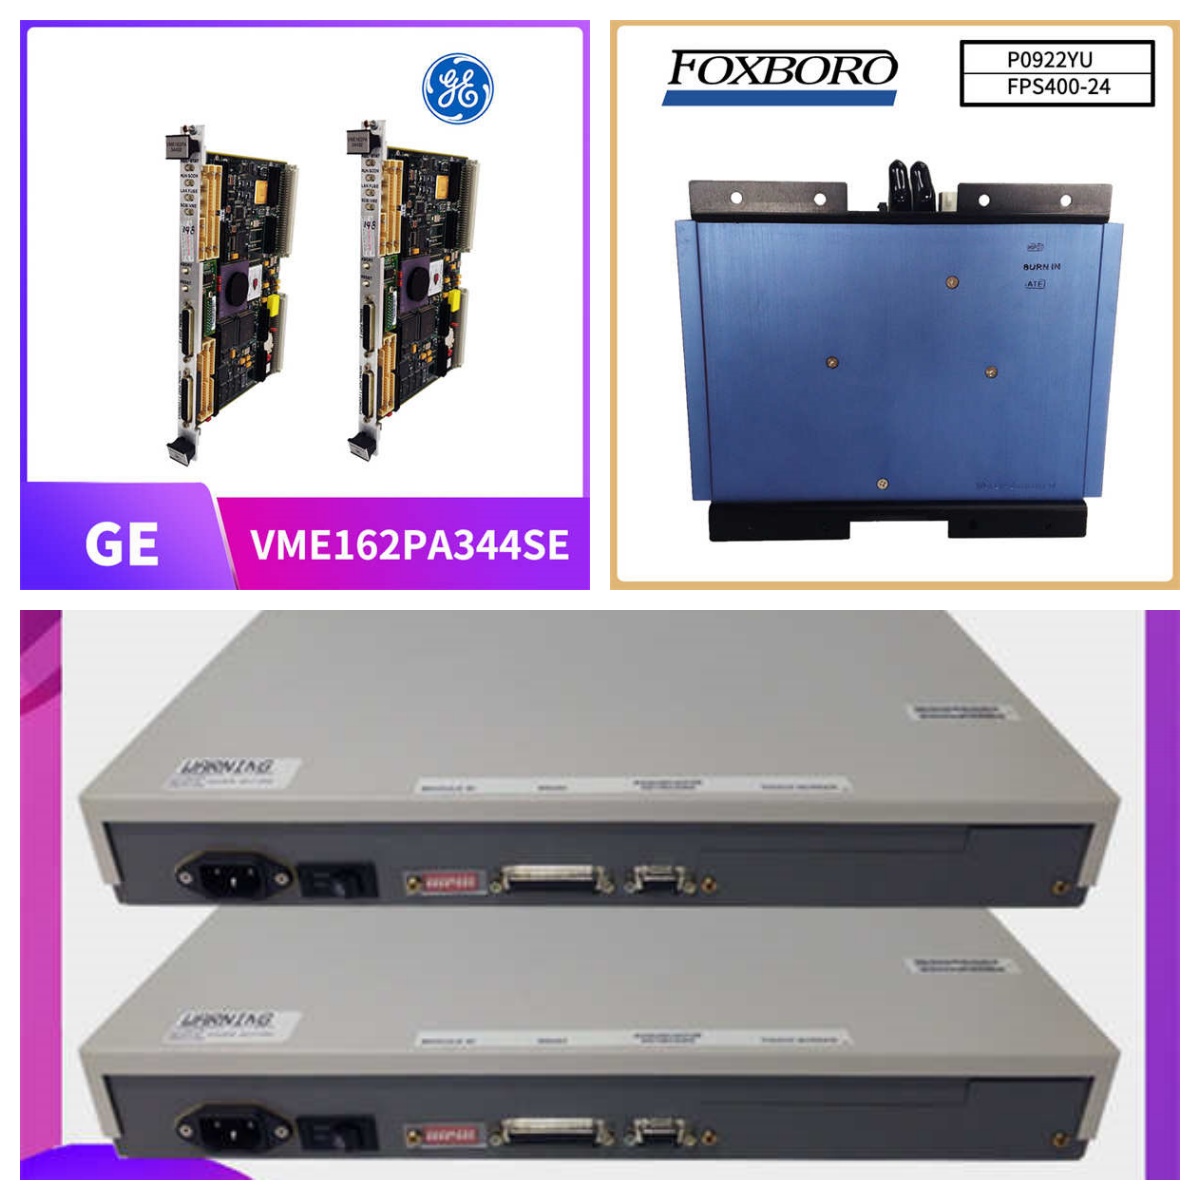
In the plant, you don’t care about “smart” features if the controller can’t handle the heat—literally. The GE MLJ1005B010H00C isn’t a consumer gadget; it’s a workhorse designed for the kind of environments where dust, vibration, and electrical noise would kill a standard PLC in an afternoon. I’ve seen these modules running inside sweltering electrical cabinets in steel mills, keeping processes alive when the ambient temperature hit 50°C.This controller sits at the center of the operation, bridging the gap between raw field data and high-level DCS commands. Its real value lies in its processing speed and versatility. It handles discrete logic and analog scaling simultaneously without the lag that causes jittery valve movements. The modular design means you aren’t replacing the whole system if one part acts up, but be warned: the communication setup can be finicky if the baud rates aren’t matched perfectly on the dip switches. It’s built to last, provided you treat the connectors with respect.
Quality SOP & Tech Pitfalls (The Reality Check)
We know that buying legacy or surplus industrial gear feels like a gamble. That’s why we don’t just ship boxes; we verify functionality.The Lab Report (SOP):
- Visual Inspection: We inspect the PCB for cold solder joints or corrosion on the terminal blocks. The “H” revision often has specific connector types that wear out.
- Power-Up Test: We apply a regulated 24VDC supply to the unit. We watch for the “Heartbeat” LED flash pattern—a steady rhythm indicates the CPU is executing its boot code correctly.
- I/O Loop Test: Using a Fluke 725 calibrator, we inject a 4-20mA signal into an analog input channel and verify the register value matches via the comms port.
- Comms Verification: We establish a handshake with a master PLC to ensure the module responds to polling requests without timing out.
- Packaging: Once passed, it gets sealed in anti-static foam to prevent transit damage.
The Engineer’s Warning (Pitfalls):
Here is the issue that wastes everyone’s time: Ground Loops.
This module is sensitive. If you daisy-chain the ground connection instead of using a star ground point, you will see erratic values jumping around in your HMI. I once spent a whole shift chasing a “ghost” signal on a similar GE controller, only to find the mounting rail wasn’t grounded properly. Also, check your voltage taps. While it supports wide voltage, wiring 110VAC into a 24VDC configured terminal block (or vice versa) will turn this expensive brick into a paperweight instantly.
Installation & Configuration Guide
Getting this module online requires attention to detail. It’s not plug-and-play like a USB drive.
- Pre-Installation Safety
- ⚠️ CRITICAL: Lock out/Tag out (LOTO) the main power supply. Verify zero potential at the terminals. Static electricity kills these boards—wear a wrist strap connected to the cabinet ground.
- Configuration (The Tricky Part)
- Before mounting, check the rotary switches or jumpers on the side of the module. You need to set the Station Number (Node ID) to match your network map. If two modules have the same ID, the bus will crash.
- Verify the termination resistor switch is ON if this is the last module on the line.
- Mounting & Wiring
- Snap the module onto the DIN rail or slide it into the chassis slot until it clicks.
- Torque the terminal screws to spec (usually 0.5-0.6 Nm). Loose wires cause arcing and heat.
- Connect the communication cable (shielded twisted pair recommended). Ground the shield at one end only to avoid loops.
- Power-On & Testing
- Apply power. Watch the diagnostic LEDs. A solid green “RUN” light is what you want. Red “ERR” usually means a configuration mismatch or bad firmware.
- Download the logic program from your engineering workstation. Monitor the scan time to ensure it’s not overloading the CPU.
Compatible Replacement Models
| Compatibility Tier | Model Series | Notes |
|---|---|---|
| ✅ Drop-in Replacement | MLJ1005 Series (Same Revision) | Exact hardware match. Must match firmware version to avoid compatibility errors with existing logic. |
| ⚠️ Functional Match | GE Fanuc PACSystems (RX3i) | Newer platform. Requires logic migration and rewiring. Offers better performance but higher integration cost. |
| ❌ Not Compatible | VersaMax Micro | Completely different architecture and physical footprint. Cannot be swapped into this slot. |
Frequently Asked Questions (FAQ)
Q: Can I hot-swap this module while the machine is running?
A: generally, no. Unless your system is specifically configured for Redundancy (Hot Standby), pulling this module will break the control loop and likely trip the process. Even with redundancy, swapping a live controller carries risk if the sync cables aren’t handled right.Q: The “COMM” light is flashing red. What does that mean?
A: That usually indicates a communication timeout. Check your baud rate settings on the dip switches—they must match the master controller exactly. Also, check for broken wires in the RS485/Ethernet cable. Noise interference is a common culprit here.Q: Is this module new or refurbished?
A: Since this is a legacy part number, “New” usually means New Surplus (old stock that was never installed). Refurbished units have been tested and repaired. We clearly label our stock condition so you know exactly what you are buying.Q: Do I need special software to program this?
A: Yes. You typically need GE’s proprietary configuration software (like LogicMaster or CIMPLICITY, depending on the era). You can’t just talk to it via a standard terminal unless you know the specific register map protocol.Q: How long is the warranty?
A: We provide a standard 1-year warranty. If the module fails due to manufacturing defects (not user error like over-voltage), we will replace it. We test every unit before shipping, so Dead-on-Arrival (DOA) is virtually non-existent.