 Tel:
Tel:  Email:
  WhatsApp:
 Description
⚙️ Key Technical Specifications
| Parameter | Specification |
|---|---|
| Manufacturer | General Electric (GE Industrial Systems) |
| Part Number | IS200EACFG1B |
| Product Type | Exciter AC Feedback Board |
| Input Voltage | Up to 480 Vrms (Single/Three Phase) |
| Frequency | 50/60 Hz |
| Interface | 3 x 9-pin Sub-D (DB9) Connectors |
| Mounting | DIN Rail or Chassis Mount (Exciter Aux Cabinet) |
| Dimensions | 263 × 58 × 28 mm |
| Weight | 0.43 kg |
| Operating Temp | -20°C to 65°C |
| Revision | Version B (Successor to IS200EAFG1) |
📝 Product Introduction
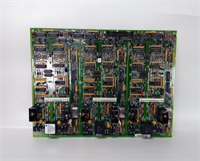
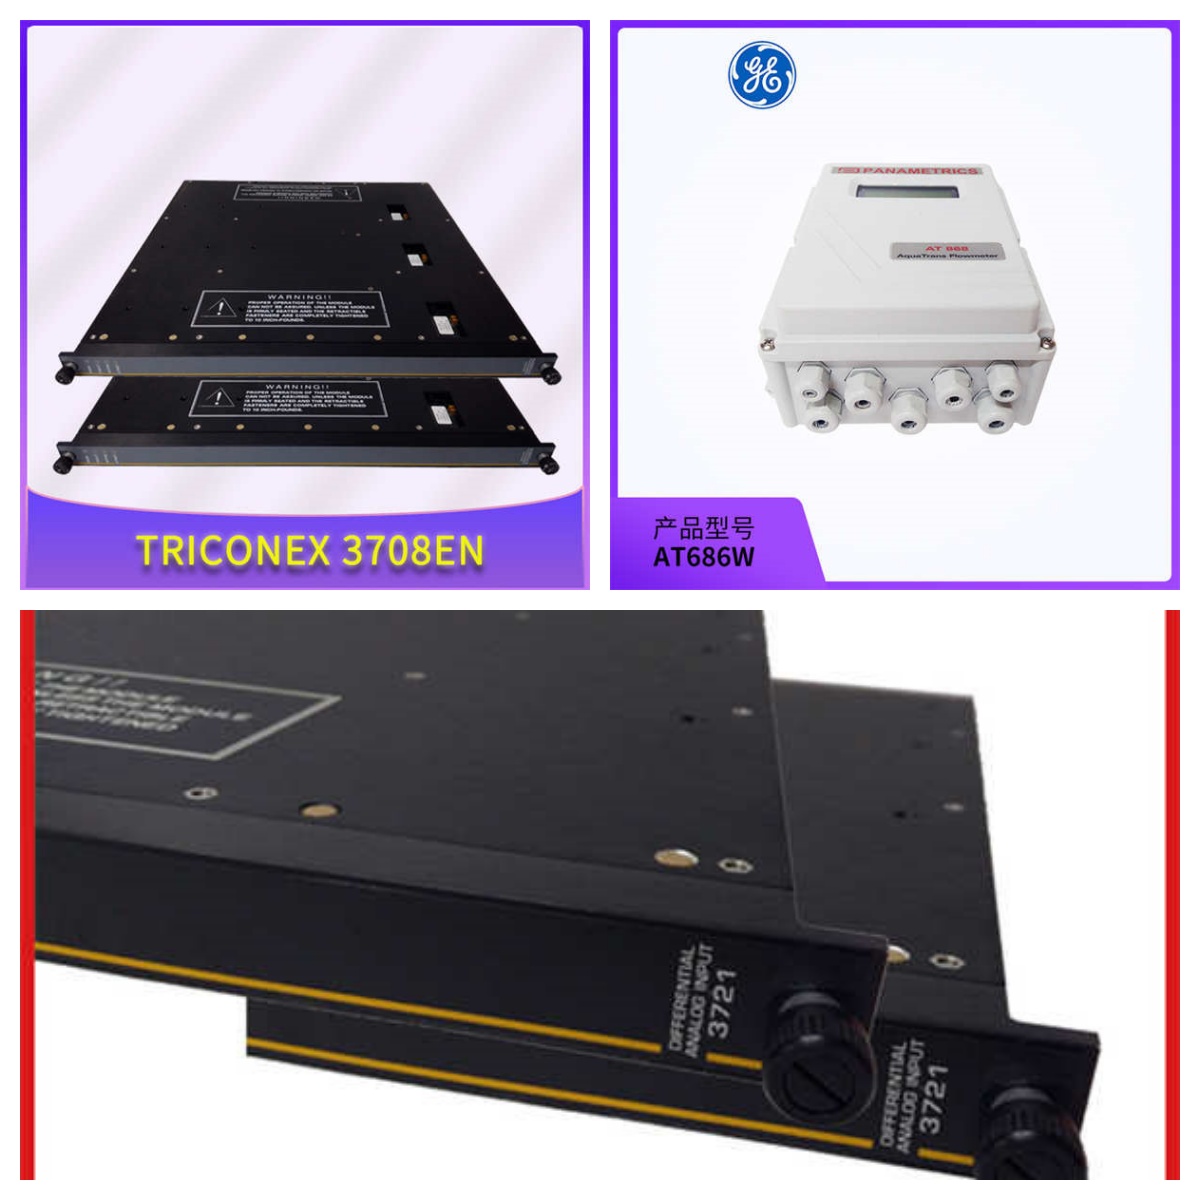
The IS200EACFG1B is a critical component within the GE EX2100 excitation control system, specifically designed to monitor AC feedback signals. It acts as the interface for measuring the exciter potential power transformer (PPT) voltages and currents, converting raw electrical data into digital signals for the main controller. This board is essential for maintaining accurate regulation of the generator’s magnetic field.Unlike standard I/O modules, this board is engineered to handle high-voltage inputs up to 480 Vrms safely. It features three specific DB9 connectors that link directly to the controller cables in the exciter auxiliary cabinet. Field experience indicates this revision (B) offers improved physical layout over the older IS200EAFG1 series, though it requires connection to an Exciter Backplane (EBKP) to function, as it lacks local status LEDs or a display.
🔧 Installation & Configuration Guide
Preparation (10 min)
- Safety First: Ensure the EX2100 system is de-energized. Lockout/Tagout (LOTO) procedures are mandatory.
- ESD Protection: Wear a grounded anti-static wrist strap. The components on the EACF board are sensitive to static discharge.
- Verify Compatibility: Check that your backplane is an EBKP model (e.g., IS200EBKPG1B). The IS200EACFG1B will not work standalone.
Removal (5–10 min)
- Locate the existing EACF board in the exciter auxiliary cabinet.
- Disconnect the three DB9 cables from connectors J504, J509, and J514. Do not pull on the wires; grip the connector housing.
- Unscrew the mounting clips or release the DIN rail latch holding the board. Slide the unit out carefully.
Installation (10 min)
- Position the IS200EACFG1B onto the mounting rail or chassis slot. Secure it firmly to prevent vibration damage.
- Reconnect the three DB9 cables to the corresponding ports. Ensure the locking screws on the DB9 connectors are tightened to prevent signal noise or intermittent faults.
- Verify the shield termination screws on the frame are tight (within 3 inches of input screws).
Power-On & Test (10 min)
- Remove LOTO devices and restore power to the control cabinet.
- Since the board has no LEDs, check the main HMI or controller diagnostics screen.
- Verify that “Exciter AC Feedback” values are present and reasonable (non-zero when the exciter is spinning). If errors persist, re-check the DB9 seating.
🛠️ Troubleshooting Quick Reference
| Symptom | Probable Cause | Corrective Action |
|---|---|---|
| No Feedback Data | Loose DB9 Connection | Reseat all three DB9 cables. Check for bent pins inside the connector. |
| Voltage Mismatch | Blown Fuse / Bad Transformer | Check the fuses on the board (if accessible) or test the input PPT voltage at the source. |
| System Fault Alarm | Missing EBKP Connection | Ensure the board is properly seated on the Exciter Backplane (EBKP). It cannot operate independently. |
| Erratic Readings | Grounding Issue | Verify the shield termination screw is connected to the frame ground. Electrical noise often causes fluctuation. |
📏 Dimensions, Mounting & Wiring Notes
- Physical Size: 263 mm (L) × 58 mm (W) × 28 mm (H).
- Mounting: Designed for the Exciter Auxiliary Cabinet. Uses standard industrial mounting compatible with the EX2100 series rack.
- Wiring:
- Inputs: High voltage inputs connect via the terminal block (verify wiring diagram).
- Signal: Output to controller is via the 3x DB9 ribbon cables.
- Shielding: Crucial for noise immunity. Ensure the cable shield is clamped at the frame screw location near the input terminals.
❓ FAQ
Q: What is the difference between IS200EACFG1B and IS200EAFG1?
A: The IS200EACFG1B is the “B” revision of the IS200EAFG1. Physically, they are nearly identical, but the G1B version is the updated standard for the EX2100 series. They are generally interchangeable if firmware matches.Q: Can I use this board without an EBKP backplane?
A: No. The IS200EACFG1B does not have its own processor or display. It must be connected to an Exciter Backplane (EBKP), such as the IS200EBKPG1B, to communicate with the main controller.Q: Does this unit come with a warranty?
A: Yes. We provide a standard 1-year warranty on all functional aspects of the board. This covers defects in the PCB and components but excludes damage from improper installation (e.g., short circuits during wiring).Q: Is this board new or refurbished?
A: We stock both New Surplus (unused old stock) and Refurbished units. All refurbished units undergo a full cleaning, fuse check, and connectivity test before shipping. Please check the specific listing for condition.Q: Why are there three DB9 connectors?
A: The three connectors correspond to the three phases of the AC input. They carry the digitized voltage and current feedback data to the main controller for processing.Q: What happens if I plug the DB9 cables into the wrong ports?
A: You risk damaging the input circuitry. While the connectors are keyed, forcing them or misaligning them can short the signal lines. Always match the cable labels to the port numbers (J504, J509, J514).