
 Tel:
Tel:  Email:
  WhatsApp:
 Description
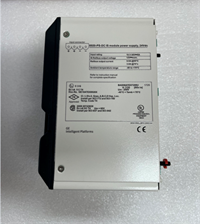
Key Technical Specifications
| Parameter | Specification |
|---|---|
| Input Voltage (Logic) | 24VDC Power Group |
| Signal Inputs | 5 Channels (3x AC Phase, 2x DC Bus +/-) |
| Interface | 20-Pin Ribbon Connector |
| Protection | Metal Oxide Varistor (MOV) Clamping |
| Connection Type | VME System Backplane / Door Distribution |
| Operating Temp | 0°C to 60°C |
| Humidity | 0% – 95% Non-condensing |
| Dimensions | 8.8 x 3.6 x 4.7 inches |
| Weight | Approx. 0.34 kg |
| Origin | USA |
Product Introduction
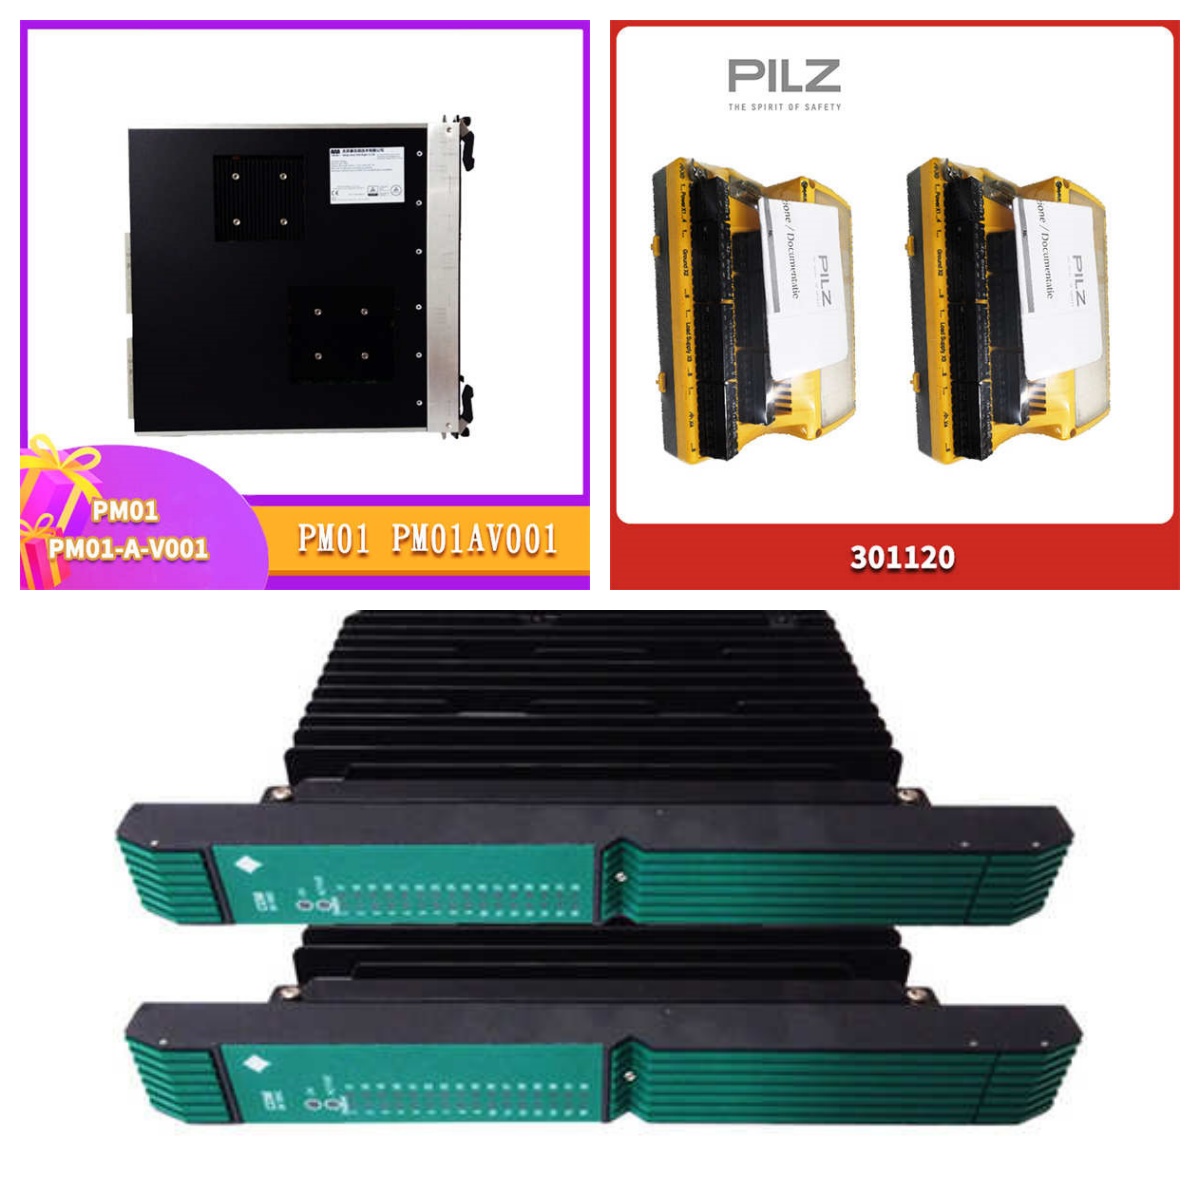
In the world of GE Mark V turbine controls, you can have the fastest CPU in the rack, but if your feedback signals are drifting, you’re flying blind. The DS200NATOG3A isn’t the “brain” of the operation, but it acts as the sensory system for the excitation bridge. I’ve seen units pulled from service simply because a cheap capacitor failed upstream, taking out the input conditioning on this board.This specific board is designed to interface directly with the SCR bridge, handling both AC and DC voltage attenuation. It takes high-voltage spikes and scales them down to logic-level signals that the processor can actually read without frying itself. What makes the NATOG3A critical is its protection circuitry; it uses Metal Oxide Varistors (MOVs) on the input connector to clip voltage peaks. If those MOVs are degraded, the board won’t just fail—it might pass garbage data to the regulator, causing the turbine to trip. It’s a robust piece of hardware, typical of late 90s GE design: heavy, shielded, and built to survive electrically noisy environments.
Quality SOP & Tech Pitfalls (The Reality Check)
We don’t just pull these off a shelf and tape up the box. Industrial surplus warehouses are dusty, hot places, and corrosion is the enemy.The Lab Report (SOP):
- Visual Inspection: We check the 20-pin ribbon connector for bent pins (common during rough removal) and inspect the PCB for heat discoloration near the varistors.
- Multimeter Verification: Using a Fluke 87V, we verify the resistance across the input channels to ensure the attenuation resistors haven’t drifted out of tolerance.
- Live Test: We mount the board on a Mark V test rack and inject simulated AC/DC voltages. We verify that the output signal matches the expected linear scaling ratio defined in the GE manual.
- Final Seal: Once verified, it goes into an anti-static bag with a desiccant pack.
The Engineer’s Warning (Pitfalls):
Here is the trap that catches everyone: The MOVs.
On the 20-pin connector, there are MOVs designed to sacrifice themselves to save the rest of the board. I once spent six hours troubleshooting a “bad regulation” fault at a plant in Texas, only to find out one of these varistors had shorted internally. The board looked fine visually, but it was clamping the signal to zero. Always check the clamping voltage on the inputs before condemning the whole control system. Also, never plug the ribbon cable in while power is applied to the bridge—the inrush current can arc the pins and weld them together.
Installation & Configuration Guide
Swapping this board requires precision. You aren’t just plugging in a USB drive; you’re dealing with high-voltage feedback loops.
- Pre-Installation Safety
- ⚠️ CRITICAL: Ensure the turbine is shut down and the excitation breaker is open. Wait at least 5 minutes for the DC bus capacitors to discharge. Verify zero volts with a multimeter before touching the backplane.
- Removal & Documentation
- Before pulling the old unit, take a clear photo of the ribbon cable orientation. The red stripe usually indicates Pin 1, but dirty cabinets make it hard to see.
- Disconnect the VME backplane connection gently; do not rock the board side-to-side, or you will damage the card guides.
- Installation
- Slide the new DS200NATOG3A into the slot. Ensure the ejector levers (if present) or mounting screws are tightened to secure the ground path.
- Connect the 20-pin ribbon cable. Double-check that Pin 1 aligns perfectly. A reversed cable here sends high voltage straight into the logic circuits—game over.
- Power-On & Testing
- Apply the 24VDC control power.
- Monitor the LED indicators on the associated processor boards (like the TCQA or STCA). You should see normal communication status.
- Perform a “bump test” by applying a low-level known voltage to the input and verifying the reading in the handheld programmer or CIMPLICITY interface.

Compatible Replacement Models
| Compatibility Tier | Model Number | Notes |
|---|---|---|
| ✅ Drop-in Replacement | DS200NATOG3A | Exact match. Ensure the revision suffix (e.g., AA, AB) is compatible with your specific Mark V generation. |
| ⚠️ Functional Match | DS200NATOG3B | Later revision. Usually compatible, but verify the firmware compatibility with the main processor (TCQA/TCQB). |
| ❌ Not Compatible | DS200STCA | This is a Signal Conditioning board, completely different function and pinout. Do not attempt to swap. |
Frequently Asked Questions (FAQ)
Q: Can I hot-swap this board while the turbine is running?
A: Absolutely not. This board deals with voltage feedback from the excitation system. Pulling it live will cause an immediate loss of regulation and likely trip the turbine on “Loss of Feedback” or “Overvoltage.” You need a full shutdown.Q: My board has burn marks near the connector. Will a replacement fix the root cause?
A: Maybe not. Burn marks on the NATOG3A usually mean the MOVs did their job and stopped a massive surge, or they failed short. If you replace the board without checking the upstream SCR bridge or cabling for shorts, you’ll just fry the new board in seconds. Trace the wiring first.Q: Is the “H520” suffix important?
A: That looks like a confusion with FANUC drives. For this GE board, look for suffixes like AA or AB. While often interchangeable, some older Mark V panels require specific hardware revisions to match the backplane wiring. Check the schematic diagram (usually sheet 20 or 30 in the manual).Q: How long does shipping take?
A: Since these are obsolete, we keep a stock of tested units. If we have it on the shelf in厦门 (Xiamen), we can ship via DHL/FedEx within 24 hours. Standard delivery to the US or Europe is usually 3-5 days.Q: Does this come with a warranty?
A: Yes, we offer a standard 1-year warranty. However, our warranty is void if you reverse the polarity on the ribbon cable. We test every unit before it leaves our facility, so if it arrives dead, we replace it immediately.