
 Tel:
Tel:  Email:
  WhatsApp:
 Description
Product Introduction
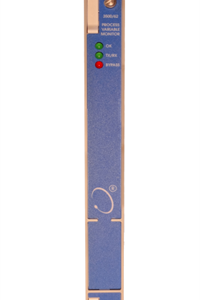
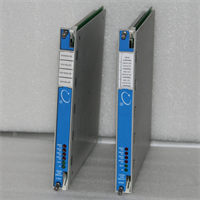
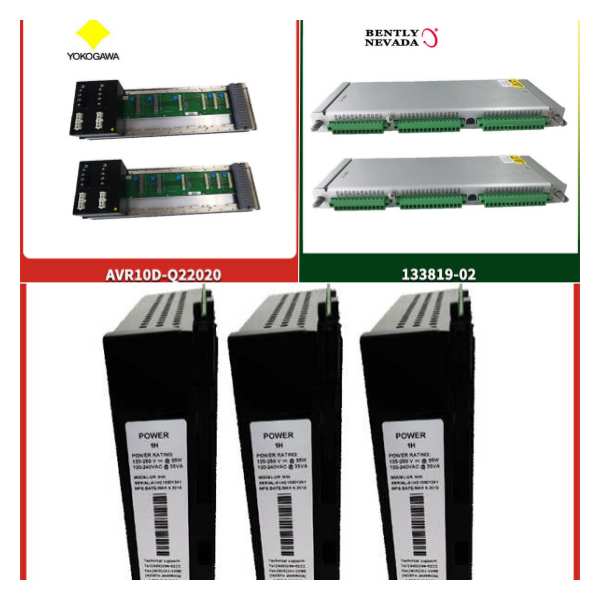
When you are staring at a tripped turbine because the vibration readings drifted during startup, you realize that the Proximitor sensor isn’t just a component—it is the first line of defense. The Bently 330105-02-12-10-02-05 is the “brain” of the 3300 XL 8mm system, sitting between the probe and the monitor rack. It takes the raw RF signal from the probe tip and converts it into a clean DC voltage that your control system can actually understand.This specific configuration (330105-02-12-10-02-05) is designed for a 5-meter system length, which is the sweet spot for most industrial installations where the sensor is far from the rack. It offers a 200 µm (7.87 mils) linear range, which is plenty for general machinery vibration and position. The “02” in the model number usually indicates the standard sensitivity of 3.94 V/mm (100 mV/mil), which is the industry standard for compatibility with most Bently Nevada monitors like the 3500 series. Honestly, sticking to this standard sensitivity saves you from having to reconfigure the entire monitor card scaling.

Key Technical Specifications
| Parameter | Specification | Notes |
|---|---|---|
| Model Number | 330105-02-12-10-02-05 | Full suffix defines configuration |
| Series | 3300 XL 8mm | Industry standard size |
| System Length | 5.0 meters (16.4 ft) | Includes cable and extension |
| Sensitivity | 3.94 V/mm (100 mV/mil) | Standard output for 3300/3500 systems |
| Linear Range | 200 µm (7.87 mils) | Usable range for measurement |
| Supply Voltage | -17.5 to -26 Vdc | Typically -24 Vdc nominal |
| Output Signal | DC Voltage | Proportional to gap |
| Temperature Range | -34°C to +177°C (-29°F to +350°F) | Probe operating temp |
| Agency Approvals | CSA, ATEX, IECEx | For hazardous locations |
| Cable Type | Coaxial (Armored or Non-Armored) | Check suffix for armor details |
| Connector | IsoPro (ISM) or Terminal Strip | Depends on specific sub-suffix |
Installation & Wiring Guide
Phase 1: Preparation (Estimated Time: 20 mins)
- Safety First: Ensure the machine is in a safe state. While the sensor is passive, you are working near live monitoring racks.
- Tool Check: You need a digital multimeter (DMM) and a gap setting tool (usually a 1.0 mm or 40 mils feeler gauge for initial setup).
- Verify Parts: Ensure the Proximitor (330105), the Extension Cable, and the Probe Tip all match. Do not mix and match different cable lengths or you will detune the system.
Phase 2: Removal of Old Module (Estimated Time: 15 mins)
- Label Everything: This is crucial. Label the power supply wire, the output signal wire, and the common return.
- Disconnect: Unscrew the terminals. If it’s a DIN-rail mount, release the clip.
- Inspect: Look at the old unit. Is the plastic yellowed? (Indicates heat exposure). Are the terminals burnt? (Indicates loose connection/arc).
Phase 3: Installation of New Module (Estimated Time: 30 mins)
- Mounting: Snap the new 330105 onto the DIN rail. Ensure it is seated firmly.
- Wiring: Connect the power (-24 Vdc), Common, and Output. Check polarity—reversing the power supply can fry the internal electronics instantly.
- Cable Connection: Connect the probe cable to the Proximitor. Tighten the connector finger-tight, then give it a quarter turn with pliers. Don’t crush it.
Phase 4: Power-up & Gap Setting (Estimated Time: 25 mins)
- Power Check: Before connecting the probe to the machine, power up the Proximitor. Measure the output voltage. It should be around -10 Vdc (or whatever the bias is) with the probe disconnected or far away.
- Install Probe: Insert the probe into the mounting hole.
- Set Gap: Use the feeler gauge or the DMM to set the gap. You want the “center” of the linear range. For a 200 µm range, aim for a gap that gives you the mid-point voltage (usually around -10 Vdc to -11 Vdc depending on the specific calibration sheet).
- Verify: Watch the voltage on the DMM as you move the probe slightly. It should change smoothly. If it jumps, check your connections.
Quality Control Process (SOP Transparency)
We don’t just ship boxes; we verify functionality. Here is what we do with this Bently Nevada unit:
- Inbound Inspection: We verify the hologram on the box and check the serial number against the Bently Nevada database to ensure it’s not a “refurbished” unit sold as new. We look for “Made in USA” or “Made in Switzerland” stamps.
- Live Functional Test: We mount the 330105 in a test rack powered by a stable -24 Vdc supply. We connect a calibrated micrometer stage and a probe. We move the target from 0 to 3 mm and record the voltage output. It must follow the 3.94 V/mm curve within tolerance.
- Electrical Parameters: We check the current draw. A healthy Proximitor draws less than 12 mA. If it draws 20 mA+, the internal oscillator is likely failing.
- Firmware/Calibration: While this is analog hardware, we verify the calibration strip inside the box matches the unit’s serial number.
- Final Packaging: We seal it in an anti-static bag (ESD protection is critical for the electronics) and pack it in a rigid box.
Installation Pitfalls Guide (“Lessons Learned” Voice)
I have seen too many of these fried on the bench before they even hit the machine. Here is how to avoid the pain.
- System Length Mismatch: This is the #1 killer. The 330105 is tuned for a specific total cable length (e.g., 5m or 9m). If you take a 5m Proximitor and hook it up to a 9m cable, the reading will be non-linear and wrong. You cannot fix this with calibration. Check the suffix code.
- Power Supply Ripple: These units are sensitive to dirty power. If your -24 Vdc supply has high ripple (from a nearby VFD, for example), the output voltage will “wobble,” causing false vibration alarms. Use a shielded power cable.
- Connector Corrosion: The IsoPro connectors are gold-plated, but if they get oil on them, they lose contact. Clean the connector with electrical contact cleaner before mating. A dirty connector adds resistance, which kills the RF signal.
- Ground Loops: The Proximitor case must be grounded. If you mount it on a painted DIN rail or an isolated backplane without a ground strap, you will pick up noise. Ensure the mounting clip bites into bare metal.
- ESD Damage: The input stage is sensitive. Don’t touch the center pin of the connector with your fingers after walking on a carpet. You might not feel the shock, but the Proximitor will.