 Tel:
Tel:  Email:
  WhatsApp:
 Description
Product In-depth Introduction
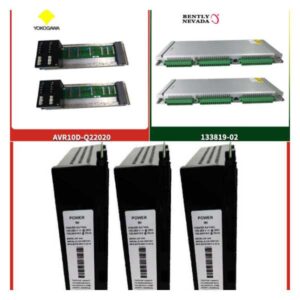
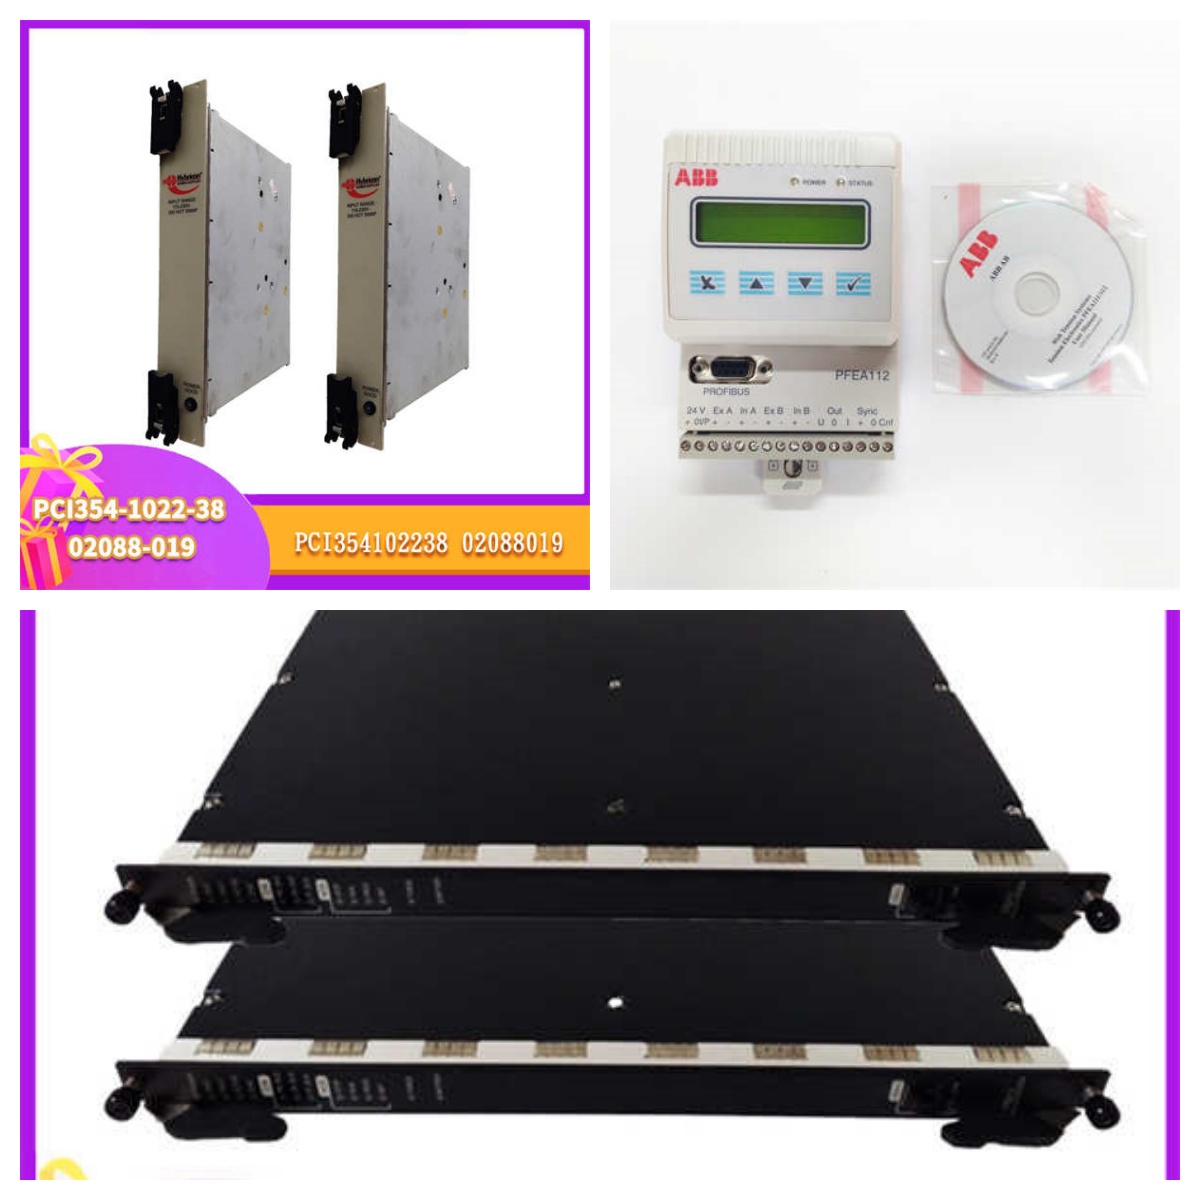
The ABB 0007A-PV1 (HIEE305098R0001) is a primary power supply unit designed for the Symphony Plus distributed control system. It slots into the controller chassis to provide regulated 24 VDC power for all I/O and CPU modules. In dual-power configurations, it operates in a load-sharing setup to maximize system uptime.Honestly, power supply failures are one of the most common causes of controller downtime in older DCS racks. This unit’s ability to hot-swap means you can pull and replace it without tripping the entire chassis—a critical feature during live production. Its wide input range (100–240 VAC) makes it compatible with global plant voltages, and the built-in redundancy support ensures your process keeps running even if one supply drops offline.
Key Technical Specifications
- Manufacturer: ABB
- Model Number: 0007A-PV1
- Full Part Number: HIEE305098R0001
- Product Type: Power Supply Unit (PSU)
- Input Voltage: 100–240 VAC, 50/60 Hz
- Output Voltage: 24 VDC
- Output Current: 5 A
- Operating Temperature: -20 °C to +70 °C
- Storage Temperature: -40 °C to +85 °C
- Protection Features: Overvoltage, Overcurrent, Short-circuit
- Certification: CE, UL, CSA
- Compatibility: Symphony Plus Ovation system
Installation & Wiring Guide
Phase 1: Preparation (Est. 10 min)
- Safety Check: Verify system power is de-energized and locked out (LOTO).
- Toolkit: Gather anti-static wrist strap, screwdriver, multimeter.
- Backup: Save controller program and I/O configuration to external media.
Phase 2: Remove Old Module (Est. 15 min)
- ⚠️ Power Down: Never hot-swap unless your system is configured for redundancy.
- Label Cables: Mark input power wires (L, N, GND) and chassis connections.
- Photo Reference: Take a high-res photo of the front panel LEDs and rear terminal block.
- Unplug: Release retention clips and slide out the old PSU gently.
Phase 3: Install New Module (Est. 10 min)
- ESD Protection: Wear a grounded wrist strap—this module feeds sensitive logic boards.
- Match Settings: Confirm the new unit’s input voltage selector (if present) matches site voltage.
- Insert Rail: Align the module with the chassis guide rails and push firmly until it clicks.
- Secure: Tighten mounting screws to prevent vibration loosening.
Phase 4: Power-Up Test (Est. 15 min)
- Pre-check: Use a multimeter to verify no short on the input line.
- Power On: Restore main power; observe the “Power OK” LED (green).
- Voltage Check: Measure output at the terminal block—should read 24.0 ±0.5 VDC.
- Load Test: Monitor for 10 minutes; listen for fan noise (if equipped) and check for abnormal heat.
Technical Pitfalls to Avoid
- Input Voltage Mismatch: The 0007A-PV1 accepts 100–240 VAC, but some rack variants use 24 VDC input supplies. Don’t assume the wiring is correct—measure before plugging in.
- Forced Airflow: These units can run hot in enclosed cabinets. Ensure at least 50 mm of clearance around the vent slots.
- Redundancy Check: If running dual PSUs, verify both are sharing load (each ~2.5 A) rather than one carrying the full 5 A.